
You just installed SeenSecure and see a bunch of tabs: Firewall, Anti-Bot, Scanner, Login, IPs, Hardening, Backups… where do you start? Here’s the order that actually matters, without getting lost in advanced options you can leave for later.
Before you start: what the FREE plan includes
SeenSecure’s FREE plan is active from the moment you install the plugin, no license or card needed. It covers the essentials: firewall, basic scanner, IP management, and hardening. PRO features (Protection Network, advanced Anti-Bot layers, full automatic backups, among others) activate with a license whenever you need them — you don’t have to wait to have one to start protecting yourself.
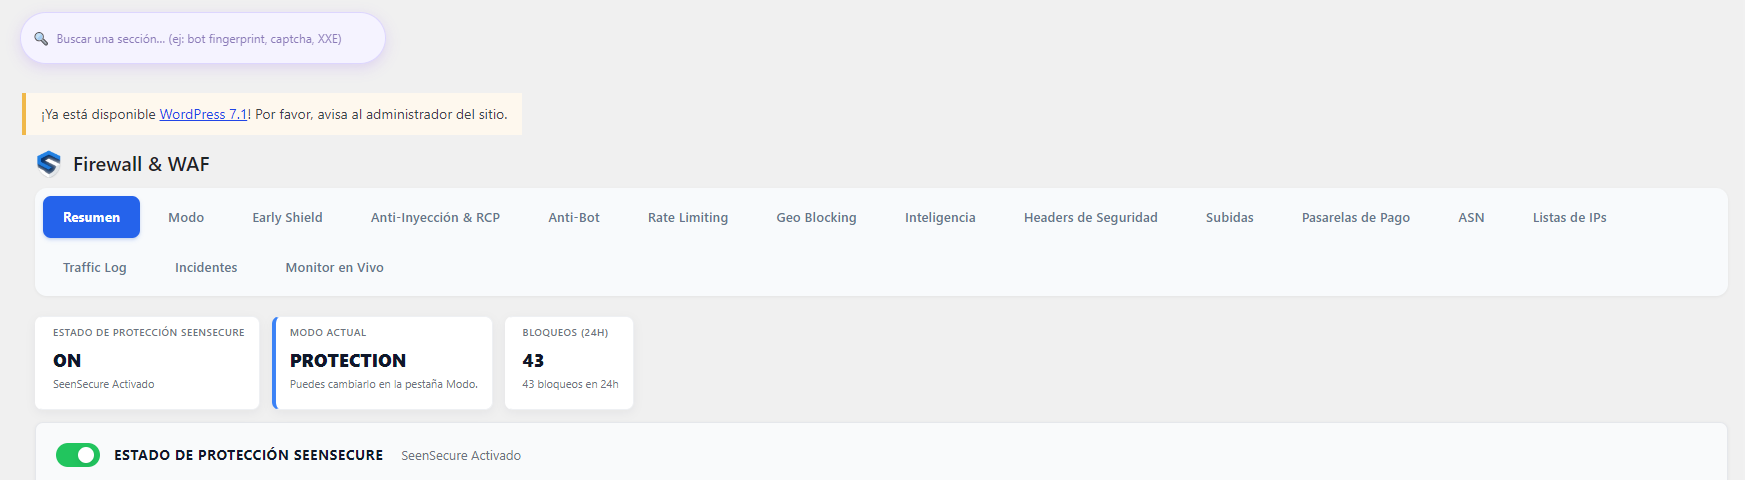
Step 1 — Turn on the Firewall in Protection mode
In Firewall & WAF → Mode, make sure the mode is set to “Protection,” not just “Monitoring.” In monitoring mode, the firewall logs threats but doesn’t block them — useful in the first few days to see what it detects without risking blocking legitimate traffic by mistake, but you should switch to active blocking once you confirm everything works properly.
Step 2 — Turn on Anti-Bot
In the Anti-Bot tab, enable at least the UA Blocklist and Crawler Verify layers — they’re the ones with the least risk of false positives, and they already filter out a significant chunk of automated malicious traffic.
Step 3 — Set up the Security Scanner
In Security Scanner, run a first full scan to get a baseline snapshot of your site, and enable scheduled scanning (it runs in the background by default, no need to remember it). If the scanner finds something, review each finding before acting — not everything detected is necessarily malicious.
Step 4 — Protect your login
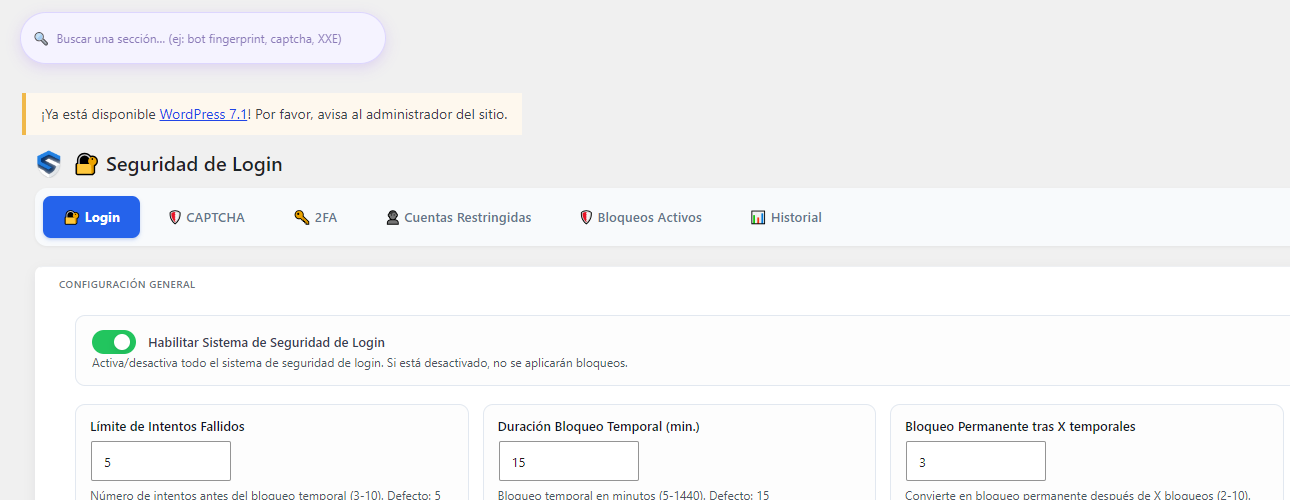
In Login & 2FA, at minimum enable the login attempt limit. If you handle sensitive data or are a more likely target (online store, many users), also enable two-factor authentication for your admin account.
Step 5 — Turn on basic Hardening
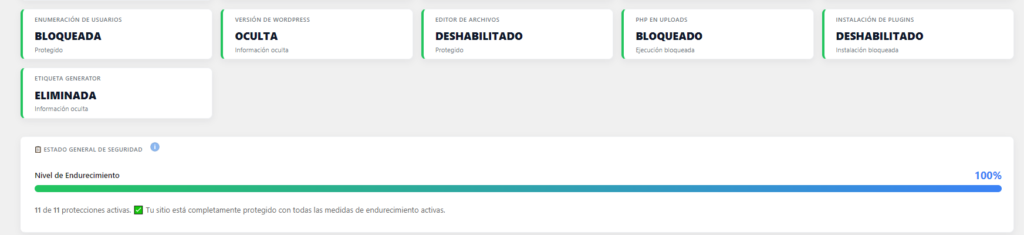
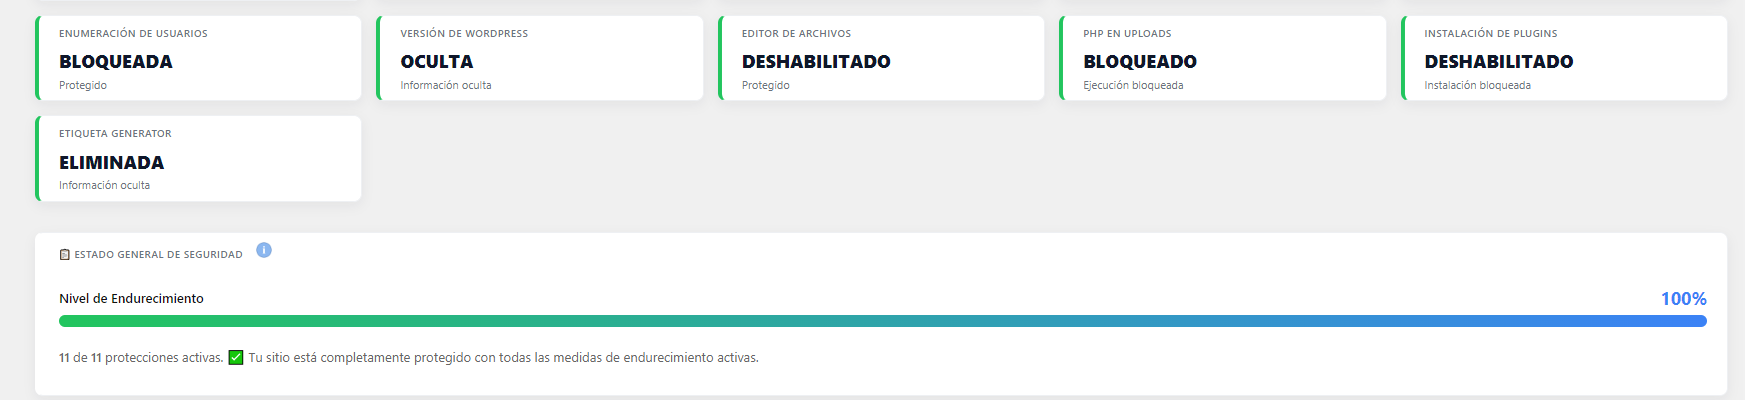
In Hardening, check the options marked as basic: disabling the theme and plugin file editor, and hiding the WordPress version, are two quick changes with real impact and no side effects on the site’s normal operation.
Step 6 — Set up automatic backups
In Backups, schedule an automatic backup at whatever frequency makes sense for your site (daily for a busy store, weekly for a quiet blog). A recent backup is what makes the difference between a bad afternoon and a real catastrophe if something genuinely goes wrong.
Frequently asked questions
What order should I enable protections in if I’m short on time?
Firewall in Protection mode and automatic backups are the two with the biggest immediate impact — if you can only do two things today, make it those.
Can I turn everything on at once without checking anything first?
You can, but it’s safer to leave the firewall in Monitoring mode for a couple of days first, review what it detects, and switch to active blocking once you confirm there are no false positives with your specific setup (plugins, theme, forms).
Do I need the PRO license to be truly protected?
No — the FREE plan already covers firewall, basic scanner, IP management, and hardening, which are the real foundation of protection. PRO adds extra layers for those who need to go further.